Sourdough is a living culture, and like all living things, it sometimes needs a little care to wake back up.
If you’ve pulled your jar from the fridge or pantry and found it sluggish, flat, or even dried out, don’t worry—your sourdough starter isn’t necessarily gone for good. With the right feeding schedule, environment, and patience, you can bring it back to life. In this guide, we’ll cover everything you need to know about how to revive a sourdough starter, from recognizing dormancy to feeding schedules, rehydrating dried starters, and troubleshooting common issues. If you’re new to sourdough, you may also want to check out our Sourdough Starter: The Complete Guide to Making, Feeding, and Fixing It for a broader foundation before diving in.

Table Of Contents
Table of Contents

How to Revive a Sourdough Starter
Ingredients
- 50 g sourdough starter (from your jar)
- 50 g unbleached all-purpose flour (or whole wheat/rye for extra boost)
- 50 g filtered water (room temperature)
Instructions
- Check the starter: Make sure there’s no mold. If you only see liquid (hooch) or a strong smell, it’s still revivable.
- Discard half: Remove about 50% of the old starter from the jar.
- Feed: Add 50 g flour and 50 g water to the remaining starter. Stir until smooth.
- Keep warm: Store in a warm place around 75–80°F (24–27°C).
- Repeat feedings: Feed every 12 hours if the starter is very weak. Switch to whole wheat or rye flour for a nutrient boost if needed.
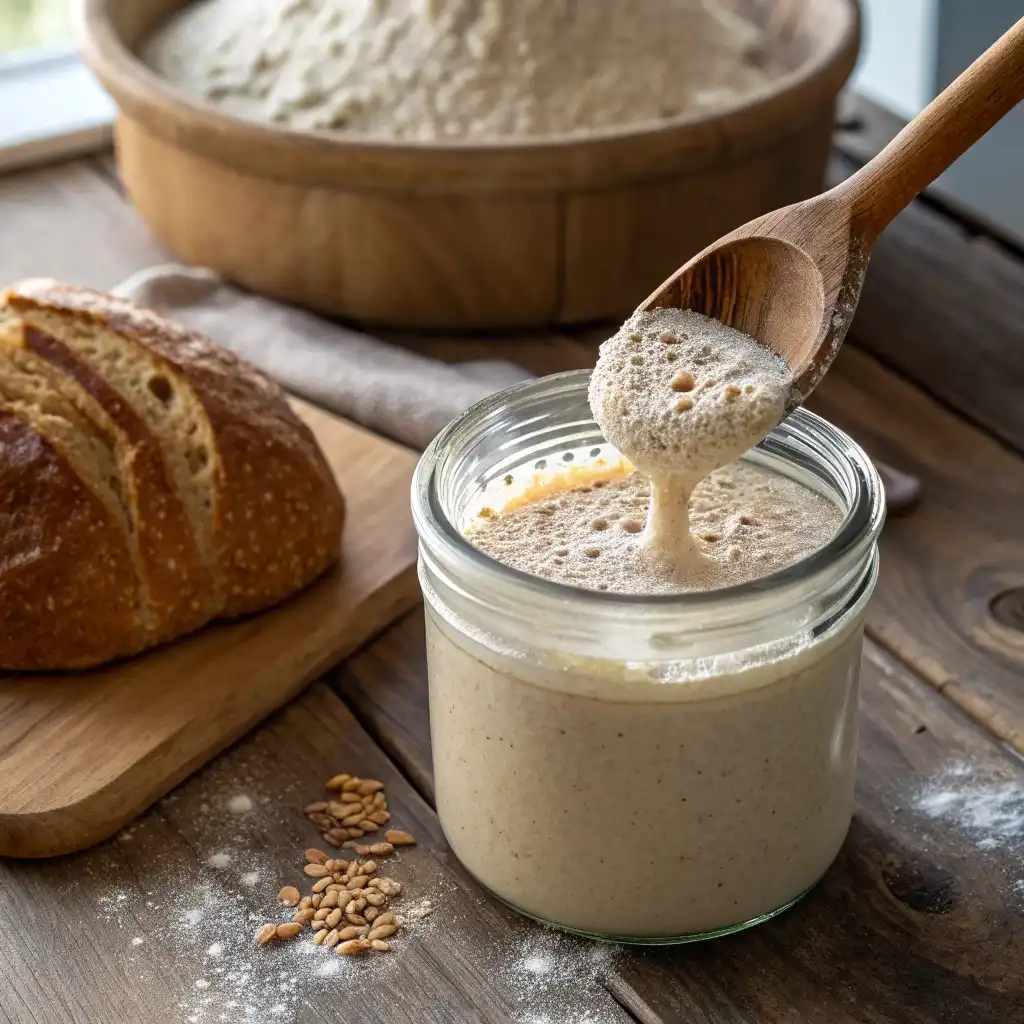
- Watch for activity: When your starter doubles in size within 4–8 hours, it is fully revived and ready to use.
Notes
- If mold appears (pink, orange, or black spots), discard the starter and begin a new one.
- You can speed up revival by using whole wheat flour and feeding more often.
- Most starters revive in 2–7 days, depending on how long they’ve been inactive.
Nutrition
Understanding a Dormant Sourdough Starter
What Makes a Sourdough Starter Go Dormant?
A sourdough starter can slip into dormancy when it’s left unfed for too long.
This often happens if it’s tucked away in the refrigerator and forgotten, or left at room temperature without consistent feedings. In this state, the wild yeast and bacteria run out of food, causing activity to slow as they conserve energy. The good news is that you can revive a sourdough starter from dormancy with proper feeding and care it’s very different from a dead starter.
Signs of Dormancy vs. Signs of Spoilage
It’s important to know the difference between a starter that simply needs reviving and one that’s unsafe to use. A dormant starter may look flat, watery, or separated, with a thin layer of liquid (called hooch) sitting on top. It might smell mildly acidic but not rotten. On the other hand, a spoiled starter often shows clear warning signs: mold growth, fuzzy patches, pink or orange streaks, or a harsh chemical odor. If you see these, it’s best to discard and start fresh instead of trying to revive it.
Quick Comparison:
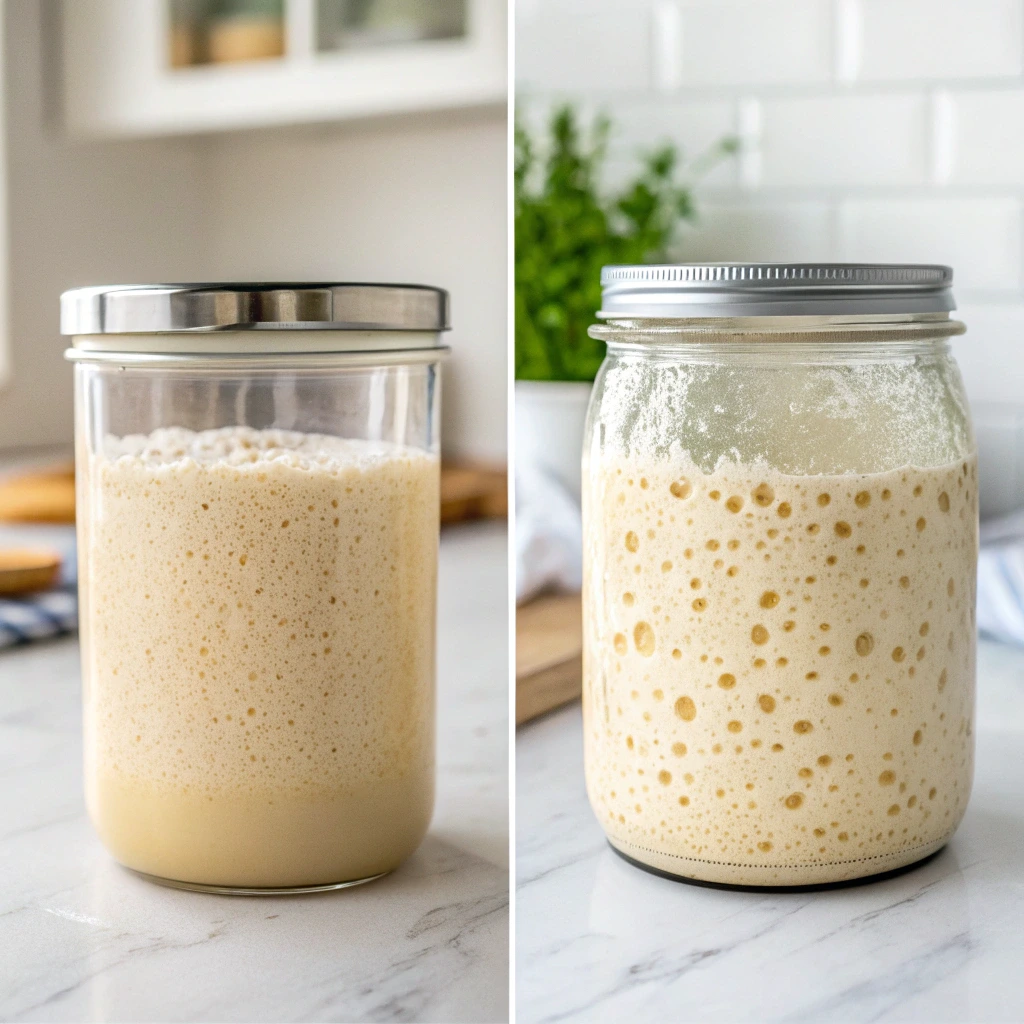
Dormant Starter: Flat with little to no bubbles, thin layer of hooch, mildly sour smell.
Spoiled Starter: Visible mold or fuzz, pink/orange streaks, rotten or chemical odor.
Revives with feeding. Unsafe to use
Dormant Starter vs. Dead Starter: Key Differences
A dead starter looks similar to a dormant one, but the yeast and bacteria are no longer viable. If you’ve tried feeding for 5–7 days with no signs of activity no bubbles, no rise, no fresh aroma it may be truly dead. Dormant starters, however, usually spring back with consistent care within a few days.
Preparing to Revive Your Dormant Starter
Tools and Ingredients You’ll Need
Before you dive into the revival process, make sure you have the right setup. You don’t need fancy equipment, but a few basics will make the process smoother:
A clean glass jar with a loose-fitting lid
A digital kitchen scale (for accurate measurements)
A spoon or spatula for mixing
Fresh flour and filtered water
Accuracy matters here. Using a scale ensures consistent feeding ratios, which is key to bringing back an inactive starter.
Choosing the Right Flour and Water
The flour you choose plays a major role in how quickly your sourdough starter bounces back. Whole wheat or rye flour works best in the early stages because they contain more natural nutrients and enzymes to feed wild yeast.
Once your starter shows signs of activity, you can switch back to all-purpose flour for regular maintenance.
Equally important is the water. Tap water treated with chlorine can slow or even kill yeast activity. If possible, use filtered or bottled water. This simple adjustment often makes the difference between a sluggish starter and a thriving one.
Setting the Right Environment and Temperature
Temperature is another critical factor in reviving your starter. Starters prefer a warm environment ideally between 70°F and 75°F (21°C–24°C). Too cold, and yeast growth slows dramatically. Too hot, and you risk killing the culture.
If your kitchen runs cold, you can place your jar inside the oven with just the light on, or near a warm appliance. Just avoid direct sunlight or extreme heat. Consistency is more important than intensity when it comes to temperature.
👉 Don’t miss our How to Store Sourdough Starter: The Most Detailed Guide Online for extra tips on keeping your starter healthy between bakes.
Why a Starter Becomes Dormant or Inactive
Before you learn how to revive a sourdough starter, it helps to understand why it became weak or flat in the first place. A sourdough starter is a living culture of wild yeast and bacteria, and like all living things, it needs food, warmth, and care. When one of these is missing, the starter slows down or even seems “dead.”
Here are the most common reasons a starter becomes inactive:
Irregular feeding If you haven’t refreshed your starter in days or weeks, the yeast runs out of food, leaving behind alcohol and acids that make it sluggish.
Cold storage Keeping a starter in the fridge for long periods without feeding causes it to go dormant.
Improper hydration – Too much water or not enough flour can weaken yeast activity.
Wrong flour type – Bleached or low-nutrient flour can starve the microbes.
Environmental stress A starter left in a very hot or very cold kitchen may lose its balance of yeast and bacteria.
The good news? Most of these issues are reversible. With patience and the right method, you can revive a sourdough starter and get it back to its strong, bubbly state.
Signs Your Starter Needs Revival
Before you start feeding, you need to check whether your culture really needs help. Here are the clear signs that it’s time to revive a sourdough starter:
No bubbles A healthy starter shows activity through bubbles and a light, airy texture. If yours looks flat and dense, it needs refreshing.
A layer of liquid on top (hooch) – This watery, sometimes grayish liquid forms when the yeast is hungry. It’s not harmful, but it means your starter has been left too long without food.
Strong or unpleasant smell A tangy, slightly sour smell is normal, but if it smells like alcohol, nail polish remover, or rotten eggs, it’s a sign the balance is off.
Poor rise If your starter doesn’t double in size within 4–8 hours after feeding, it has lost its strength.
Weak structure A starter that collapses quickly after rising may need several consistent feedings to recover.
👉 If you see these signs, don’t throw your starter away. Most of the time, you can revive a sourdough starter with steady feeding and patience.
Step-by-Step Guide to Revive a Sourdough Starter
If your culture looks weak, flat, or forgotten in the fridge, don’t panic. You can revive a sourdough starter by following these simple steps:
Step 1: Assess Your Starter
Open the jar and take a close look. A little hooch (liquid on top) or a strong smell doesn’t mean it’s dead. Mold, however fuzzy patches in colors like pink, orange, or black means the starter should be discarded and restarted from scratch.
Step 2: Discard & Refresh
Remove about half of the starter (this keeps the yeast-to-food ratio balanced). Add equal parts fresh flour and water usually 1:1 by weight. For example, mix 50 g flour + 50 g water into the remaining starter. Stir until smooth.
Step 3: Consistent Feeding Schedule
To revive a sourdough starter, you’ll need to feed it at least twice daily if it’s very sluggish. Keep the ratio simple 1 part starter, 1 part flour, 1 part water (known as the 1:1:1 method).
Step 4: Adjust Flour & Water Ratio
If your starter is extra weak, switch to a slightly higher flour-to-water ratio (like 1:2:2). This gives the yeast more food to grow stronger. Whole wheat or rye flour is also helpful because it’s rich in nutrients.
Step 5: Keep It Warm
A cold environment slows yeast activity. Keep your starter in a warm spot around 75–80°F (24–27°C) for best results. You can place it in the oven with just the light on, near a sunny window, or wrapped in a towel to stay cozy.
Step 6: Watch & Repeat
After a few feedings, you should see bubbles forming again. Once your starter reliably doubles in size within 4–8 hours after feeding, it’s officially revived and ready to bake with.
You can view How to make Sourdough Starter from Scratch: A No-Fail, Day-by-Day Recipe
Troubleshooting Revival Problems
Sometimes, even after a few feedings, you may run into problems. Don’t give up most issues can be fixed, and you can still revive a sourdough starter with patience. Here are the most common troubles and solutions:
- No Activity After Several Feedings
If your starter looks flat after 3–4 days of regular feedings, try switching to whole wheat or rye flour. These flours provide more nutrients and can jump-start yeast growth. Also, make sure your water is chlorine-free, since chlorine can weaken the culture. - Strange or Rotten Smell
A healthy starter should smell tangy and slightly yeasty. If it smells like rotten eggs, moldy cheese, or strong chemicals, it’s a sign of contamination. In this case, it’s often better to start fresh rather than trying to revive a sourdough starter that has gone bad. - Mold Growth
Pink, orange, or black fuzzy spots mean your starter is unsafe. Unfortunately, this can’t be fixed. Discard it and create a new one instead. - Hooch Keeps Forming
If you see liquid on top every day, it means your starter is still very hungry. To fix this, feed it more often (every 8–12 hours) and keep it in a warmer spot. - Weak Rise After Feeding
If your starter rises only a little, increase the feeding ratio to 1:2:2 or even 1:3:3. This gives the yeast more food and helps rebuild strength over several days.
With steady care, most issues will improve, and you’ll be able to revive a sourdough starter to full strength.
How Long Does It Take to Revive a Sourdough Starter?
One of the most common questions bakers ask is: how long will it take to bring my starter back to life? The answer depends on how long it has been neglected and the conditions in which you keep it.
For a starter that’s only been sitting in the fridge for a week or two, it may take just two to three feedings before it becomes strong again. In this case, you can revive a sourdough starter in about 24–48 hours.
If your starter has been left untouched for several weeks, expect it to take longer. Usually, four to seven days of consistent feeding are required to restore its strength. You’ll know you’ve succeeded when the starter doubles in size within 4–8 hours after feeding. That’s the clearest sign that you managed to revive a sourdough starter successfully.
In rare cases, if a starter has been forgotten for months, it might need a full week or more of daily care before it comes back. Even then, most starters can be saved proving just how resilient these cultures are. With enough patience, you can almost always revive a sourdough starter no matter how sluggish it looks at first.
Tips to Keep Your Starter Healthy After Revival
Once you manage to revive a sourdough starter, the key is keeping it strong so you don’t have to repeat the process again. A well-fed and properly stored starter will stay active for years. Here are some essential tips:
- Stick to a Feeding Schedule
Consistency is everything. If you bake often, feed your starter once a day at room temperature. If you bake less frequently, you can store it in the fridge and feed it once a week. Regular feeding means you’ll never need to revive a sourdough starter from scratch again. - Use Quality Flour and Water
Choose unbleached all-purpose, whole wheat, or rye flour, since they contain the nutrients and minerals your culture needs. Always use filtered or dechlorinated water to avoid harming the yeast. - Control Temperature
Starters thrive in a warm environment (around 75–80°F or 24–27°C). If your kitchen is cold, keep the jar in a proofing box, near a warm appliance, or in the oven with just the light turned on. - Keep the Jar Clean
Scrape down the sides of the jar after each feeding to prevent dried starter from attracting mold. Use a clean spoon or spatula every time you stir. - Refresh Before Baking
Even if your starter has been stored in the fridge, take it out a day or two before baking. Give it at least 2–3 feedings at room temperature to bring it to full strength. This ensures your bread rises beautifully and tastes amazing.
By following these steps, you’ll not only keep your culture healthy but also avoid the stress of having to revive a sourdough starter again in the future.
Want to save some of these recipes? Visit my Pinterest page or Facebook, where I have a huge collection of the best sourdough recipes and information on the web.
Frequently Asked Questions (FAQs)
Can you really revive a sourdough starter that looks dead?
Yes! In most cases, you can revive a sourdough starter even if it looks flat, smells sour, or has a layer of liquid on top. As long as there’s no mold, steady feedings will usually bring it back.
How long does it take to revive a sourdough starter?
If your starter has only been neglected for a short time, it can bounce back in 1–2 days. For starters left for weeks, it may take 4–7 days of regular feeding. The key sign of success is when the starter doubles in size within 4–8 hours of feeding.
What if my sourdough starter has mold?
Unfortunately, mold means the culture isn’t safe to use. In that case, you can’t revive a sourdough starter it’s better to discard it and create a new one from scratch.
Should I stir in or pour off the liquid (hooch) before feeding?
Both are fine. Pouring it off gives you a milder flavor, while stirring it in adds tanginess. Either way, feed your starter right away to strengthen it.
Can I speed up the revival process?
Yes! Using whole wheat or rye flour, keeping the starter warm (75–80°F), and feeding more frequently (every 8–12 hours) can help speed up revival.
How do I know my starter is fully revived?
A healthy starter should double in volume, smell pleasantly sour and yeasty, and pass the float test (a spoonful should float in water). When it does all this, you’ve successfully managed to revive a sourdough starter.
Conclusion:
With regular feedings, warmth, and care, you can revive a sourdough starter and keep it thriving for years. A little patience goes a long way in sourdough baking.