How to Make a Sourdough Starter from Scratch might sound intimidating at first, but my journey taught me otherwise. I still remember my first attempts jars of flour and water sitting on the counter, some smelling strange, others refusing to bubble. After several failures, I learned the secret: patience, the right ingredients, and consistency. Today, I keep a healthy, bubbly starter that turns simple flour and water into beautiful, flavorful bread. In this guide, I’ll walk you through every step so you can confidently make your own sourdough starter from scratch at home.
Before starting your sourdough journey, gather the right tools and ingredients. Using proper items ensures your sourdough starter from scratch develops healthy, active wild yeast.
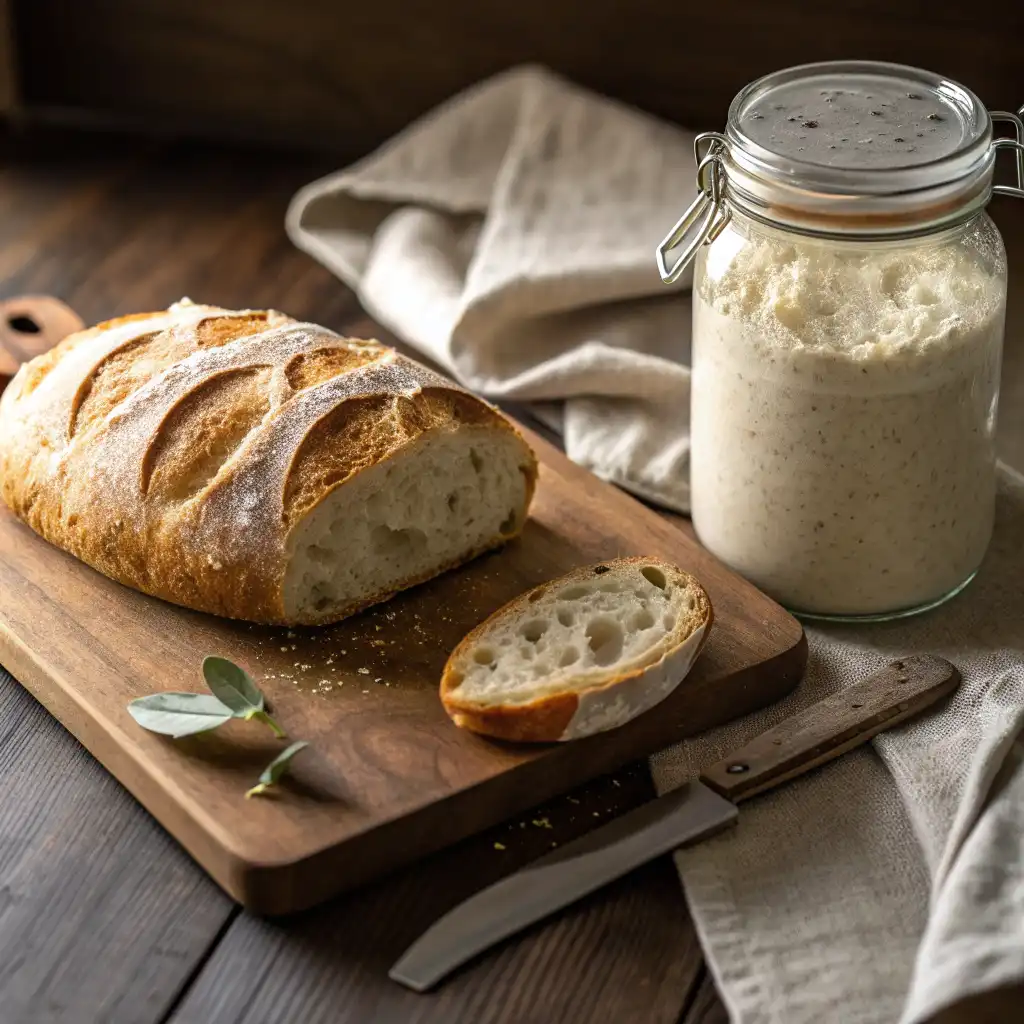
Sourdough Starter: The Complete Guide to Making, Feeding, and Fixing It

How to Make a Sourdough Starter from Scratch
Equipment
- 1 Glass Jar or Container Clear glass makes it easy to monitor bubbles and growth. (Avoid metal containers, they can react with acidity.)
- 1 Digital kitchen scale For accurate flour and water measurements by weight, ensuring consistency.
- 1 Measuring Cups & Spoons Handy if you don’t use a scale, but weighing is more reliable.
- 1 Wooden Spoon or Silicone Spatula To stir the mixture without damaging the jar.
- 1 Breathable Cover (Cheesecloth, Paper Towel, or Loose Lid) – Protects your starter from dust while allowing airflow.
- 1 Rubber Band or Marker Helps track the rise and fall of the starter after feedings.
- Clean Water Source Filtered or bottled water works best, avoiding chlorine that can harm yeast.
Ingredients
- 120 g whole wheat flour (or rye flour for best results)
- 120 g unbleached all-purpose flour
- 240 ml filtered or bottled water (room temperature)
Instructions
- 1. Day 1: Mix 60 g whole wheat flour with 60 ml water in a clean glass jar. Stir until no dry flour remains. Cover loosely.2. Day 2: Check for bubbles. Add 60 g flour (switch to all-purpose) and 60 ml water. Mix well.3. Day 3–4: Continue daily feeding (discard half, then add 60 g flour + 60 ml water). Bubbles and a tangy smell should develop.4. Day 5–7: Starter should double in size within 4–6 hours of feeding. If it does, it’s ready to use in sourdough baking.
Notes
Nutrition
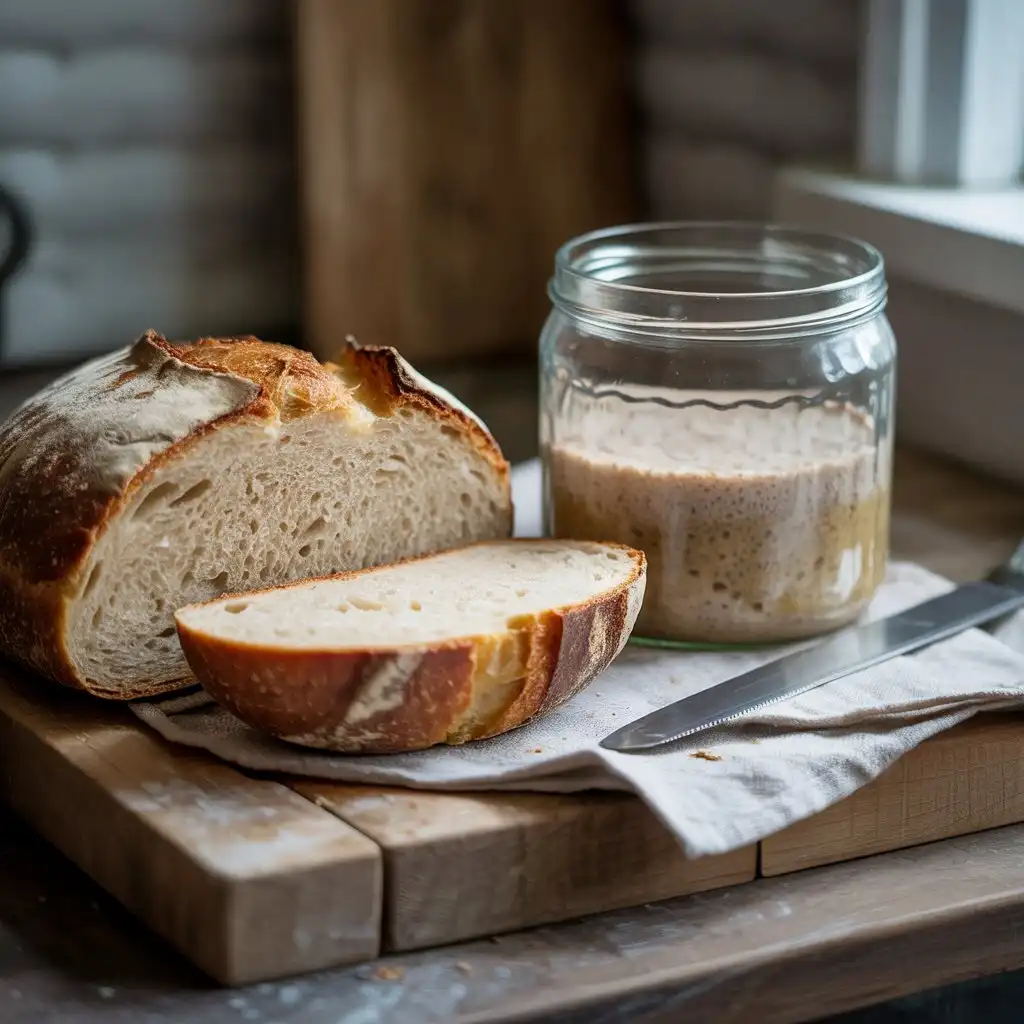
Table of Contents
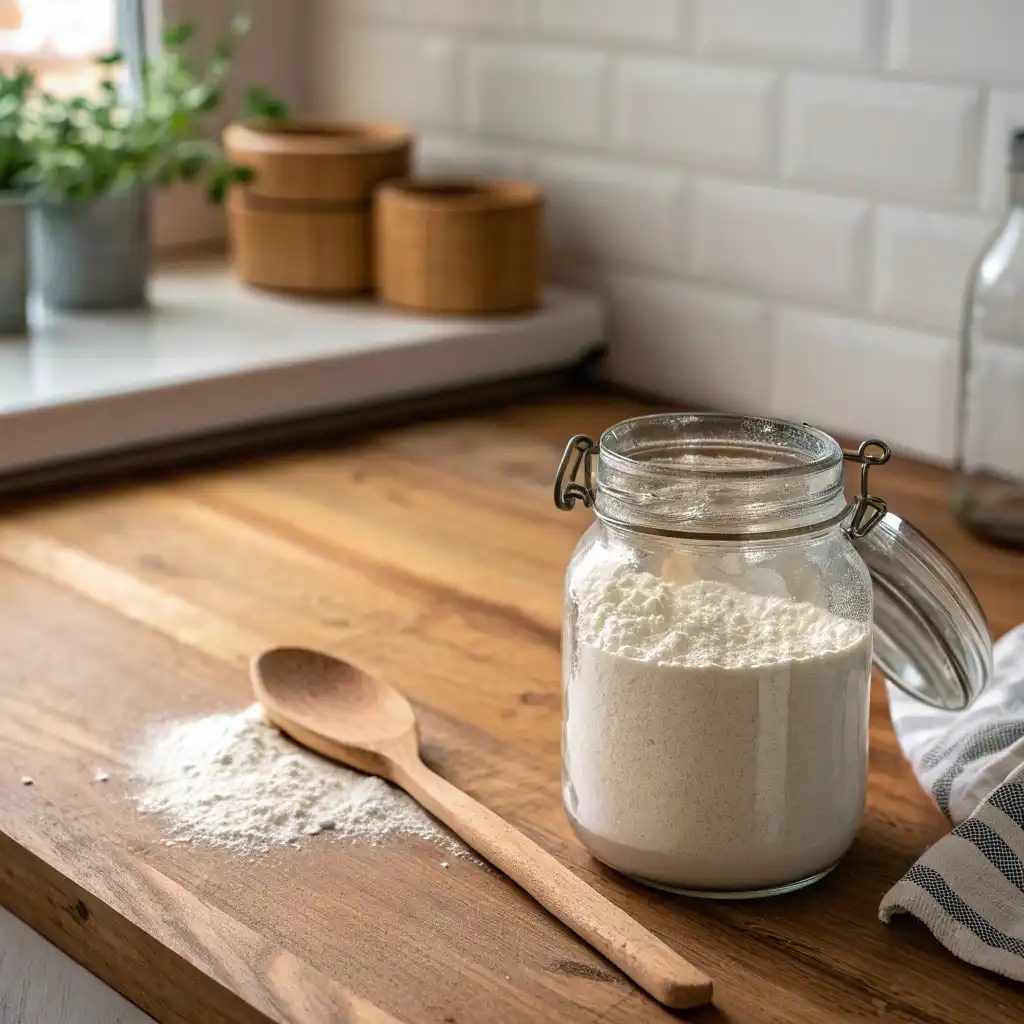
Tools and Ingredients You’ll Need
Before you begin how to make a sourdough starter from scratch, it’s important to gather the right tools and ingredients. Using the correct items ensures your sourdough starter from scratch becomes strong, active, and reliable.
Tools:
A clean glass jar (500 ml or larger) with a loose-fitting lid
Digital kitchen scale for accurate measurements
Spoon or spatula for mixing
Rubber band or marker to track the starter’s growth
Ingredients:
60–120 g whole wheat flour or rye flour – these are often the best flours for starting a sourdough starter from scratch because they contain natural wild yeast and nutrients
60–120 g filtered water at room temperature – chlorine-free water is essential for a healthy sourdough starter from scratch
💡 Pro Tip: Starting with the right flour and clean tools is the key to a successful sourdough starter from scratch, setting a strong foundation for consistent, bubbly, and flavorful bread.
Step-by-Step Instructions: How to Make a Sourdough Starter from Scratch
Creating a sourdough starter from scratch may seem tricky, but following these steps will make the process simple and reliable.
Day 1 – Mix Your Starter
- In a clean jar, combine 60 g whole wheat or rye flour with 60 g filtered water.
- Stir until smooth, scrape down the sides, and cover loosely.
- Mark the level with a rubber band or marker. This is your first step in how to make a sourdough starter from scratch.
Day 2 – First Feeding
- Check your starter for bubbles or slight rise.
- Discard about half of the mixture, keeping roughly 40 g.
- Mix in 60 g of flour and 60 g of water. Mix well, cover, and mark the new level.
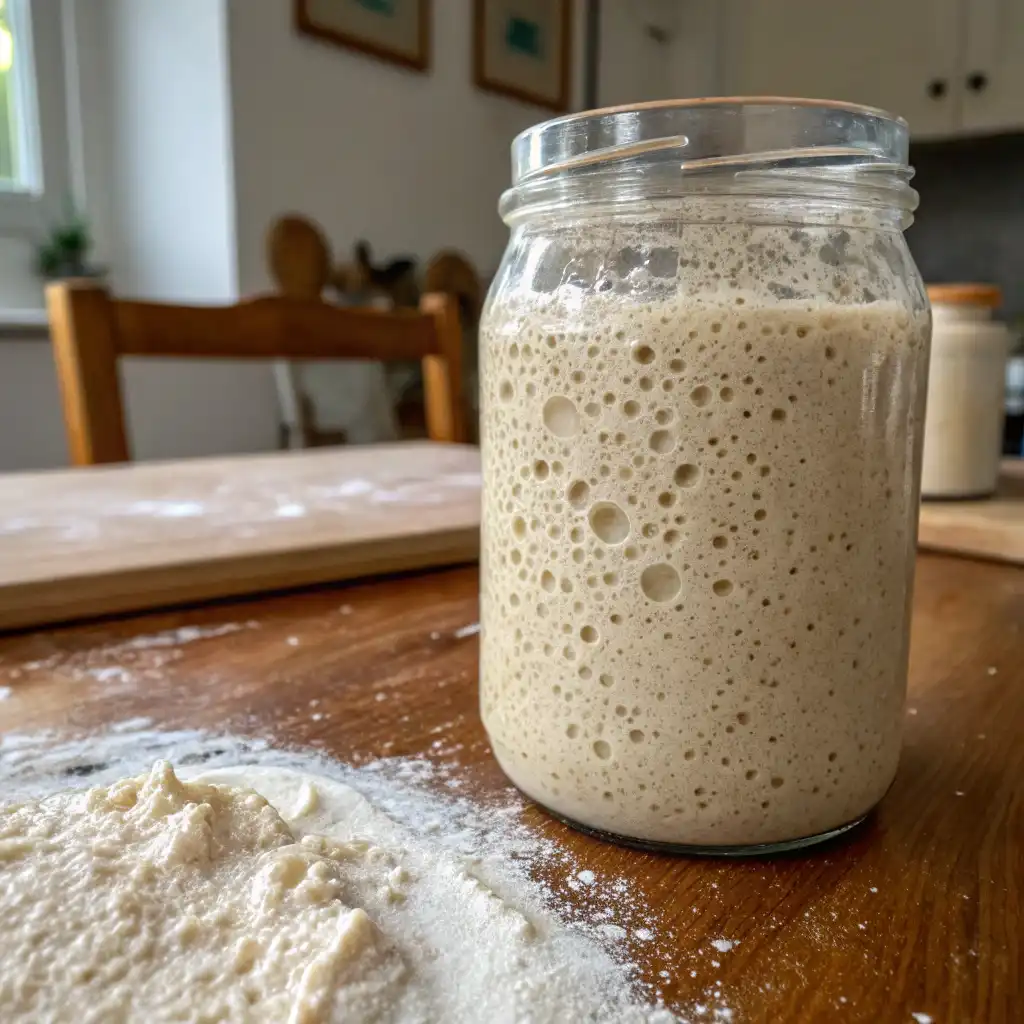
Days 3–5 – Building Activity
- Repeat the discard-and-feed process daily.
- After just 3 to 4 days, your starter should be bubbling and active. Look for a pleasant, tangy aroma and a noticeable increase in its volume.
- A slow starter sometimes just needs more time. If yours is sluggish, continue feeding it the same flour for an extra day.
Day 6–7 – Ready to Use
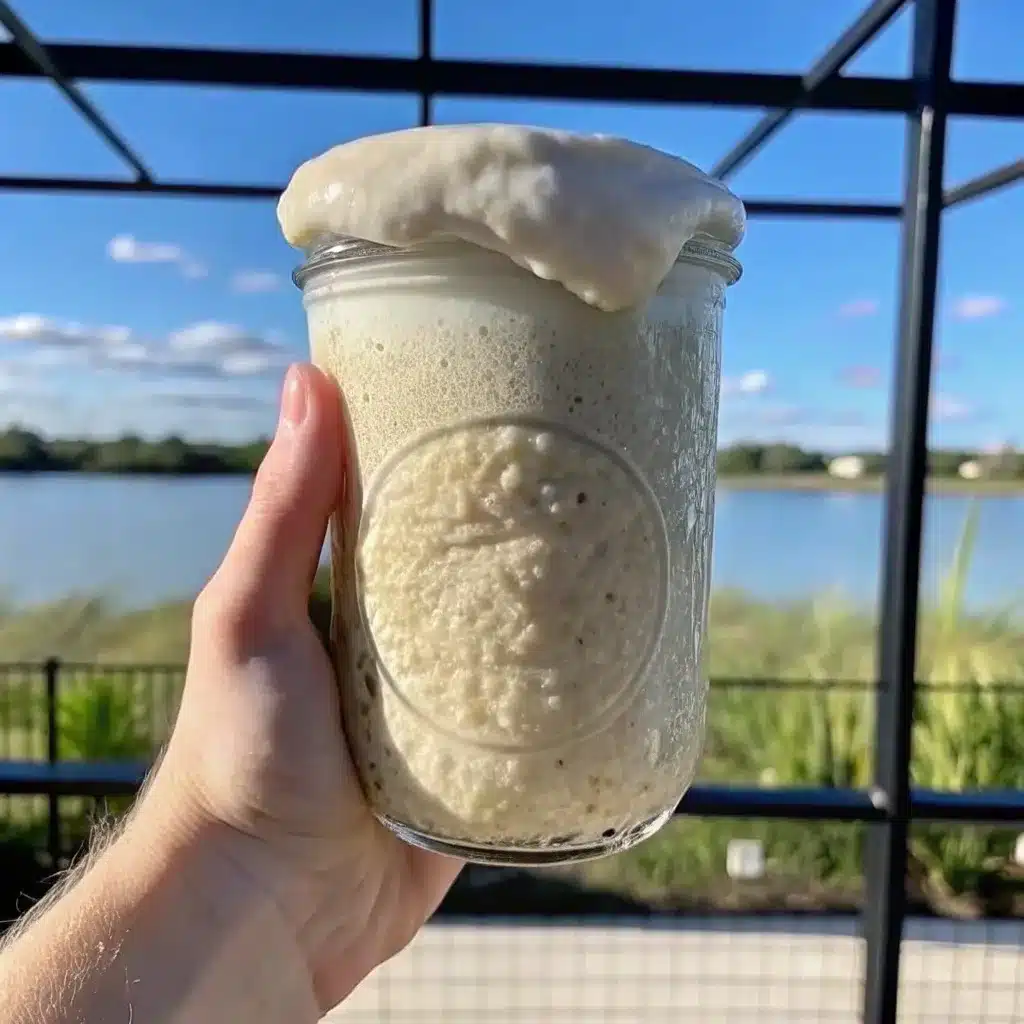
- Once your starter doubles in size within 4–6 hours of feeding and has a strong, pleasant aroma, it’s ready for baking.
- You can now maintain it with daily or weekly feedings depending on your baking schedule.
💡 Pro Tip: Consistency is key. By following these steps for how to make a sourdough starter from scratch, you’ll develop a strong, active starter capable of producing delicious, airy bread.
Want to save some of these recipes? Visit my Pinterest page, where I have a huge collection of the best sourdough recipes and information on the web.
For more recipes viste our page Facebook
Common Problems and Fixes When Making a Sourdough Starter from Scratch
Even if you follow the steps carefully, you might encounter some issues while learning how to make a sourdough starter from scratch. Here’s how to solve the most common problems:
- No Bubbles or Growth
Possible Causes: Room temperature is too low, or you’re using chlorinated water.
Fix: Keep your starter in a warm spot (70–75°F / 21–24°C) and use filtered or bottled water.
- Bad Smell (Rotten or Moldy)
Possible Causes: Contamination from dirty utensils or unclean jar.
Fix: Always use clean tools and containers. If mold appears, it’s best to start over.
- Starter is Too Runny or Too Thick
Possible Causes: Water-to-flour ratio isn’t consistent.
Fix: Stick to equal weights of flour and water for a balanced texture.
- Pink or Orange Streaks
Possible Causes: Harmful bacteria have developed.
Fix: Discard the starter and begin again following the proper sourdough starter from scratch method.
- Starter Rises and Falls Too Fast
Possible Causes: It’s very active but underfed.
Fix: Feed it more frequently or increase the feeding ratio.
💡 Pro Tip: Patience and consistency are your best tools when learning how to make a sourdough starter from scratch small adjustments can quickly bring your starter back to life.
Tips for the Best Results
If you want consistent success while learning how to make a sourdough starter from scratch, keep these tips in mind:
- Use Whole Grain Flour at the Start
Whole wheat or rye flour contains more nutrients and wild yeast, which helps your starter develop faster. - Weigh Ingredients for Accuracy
For a perfectly balanced starter, a kitchen scale is essential, guaranteeing you add equal parts flour and water by weight. - Avoid Direct Sunlight
While warmth is important, direct sunlight can overheat and damage the natural yeast. - Mark the Jar Level
Use a rubber band or tape to track your starter’s growth after feeding—it’s a great visual cue. - Be Patient
The process can take 5–7 days or longer. Instead of rushing the process, be patient. The flavor and strength of your starter will only improve with time. - Switch to White Flour Later
Once your starter is strong and bubbly, you can switch to all-purpose flour for a milder flavor in your bakes.
💡 Pro Tip: Consistency is key feed at the same time each day and follow your how to make a sourdough starter from scratch routine without skipping.
How to Store Your Starter
After you’ve learned how to make a sourdough starter from scratch, the next step is knowing how to store it so it stays active and flavorful.
Keeping It at Room Temperature:
Ideal if you bake daily or several times a week. Feed it roughly every 24 hours to maintain strength and consistent rise.
Storing in the Refrigerator:
If you bake less often, the fridge is your best option. Feed your starter once a week, and let it warm up to room temperature with one or two feedings before baking.
Freezing for Extended Breaks:
A frozen starter can last for months. When ready to use, thaw it and refresh with a few feedings until bubbly and active.
Drying for Long-Term Backup:
You can easily preserve your starter by spreading it out into a thin layer and letting it dry. Once it’s a solid sheet, break it into flakes and keep them in an airtight jar. To bring it back, mix the flakes with water and flour over several days.
💡 Tip: Keeping notes on the date and flour type you last used will make it easier to track and manage different batches.
How to Revive an Inactive Starter
Even after you’ve mastered how to make a sourdough starter from scratch, there may be times when it looks sluggish, smells off, or stops rising as usual. Don’t throw it away most starters can be brought back to life with a little care.
Identify the Problem:
If your starter has been left unfed for days, it might develop a layer of liquid (hooch) on top. This is normal and simply means it’s hungry.
Start with Frequent Feedings:
Feed your starter twice a day with equal parts flour and water (by weight) at room temperature until it becomes bubbly and active again.
Switch Flour Temporarily:
Whole wheat or rye flour can speed up the revival process thanks to their higher nutrient content.
Maintain a Warm Environment:
For optimal yeast growth, aim to keep your starter in a warm spot, ideally in the 70–75°F (21–24°C) range.
Patience is Key:
Depending on how long it’s been inactive, it could take 2–5 days before it regains full strength.
💡 Tip: Always keep a small portion of dried starter as a backup, so you never have to start the process from zero.
Common Mistakes to Avoid
When learning how to make a sourdough starter from scratch, beginners often make a few common mistakes that can slow down the process or even ruin the starter. Avoiding these pitfalls will save you time and frustration.
Using Chlorinated Water:
Chlorine can inhibit yeast activity. Always use filtered or bottled water for the best results.
Feeding Inconsistently:
Skipping feedings or feeding too little can weaken the starter. Stick to a regular schedule for stable fermentation.
Keeping It Too Cold:
Starters thrive in a warm environment. Temperatures below 68°F (20°C) can slow yeast growth significantly.
Overfeeding Early On:
In the first few days, avoid feeding too much before signs of activity appear, or you’ll dilute the wild yeast population.
Ignoring Signs of Maturity:
Discarding a perfectly ripe starter because it smells tangy or has a layer of liquid on top is a common beginner error these are normal.
💡 Tip: Keep notes of feeding times, flour types, and room temperature. This helps identify what works best for your specific environment.
FAQs About Making a Sourdough Starter from Scratch
How long does it take to make a sourdough starter from scratch?
Creating a sourdough starter from scratch usually takes 5–7 days. Some starters may take a bit longer, depending on room temperature, flour type, and feeding consistency. Following the daily feeding routine ensures a healthy and active starter.
Can I use tap water to make my starter?
It’s best to avoid chlorinated tap water, as chlorine can inhibit yeast growth. Use filtered or bottled water to give your starter the best chance of thriving.
What type of flour is best for a starter?
Whole wheat or rye flour is ideal for the first few days because they contain more natural yeast and nutrients. Once your starter is active, you can switch to all-purpose or bread flour for maintenance.
What should I do if my starter smells unpleasant?
A healthy starter should smell pleasantly tangy. If it smells rotten, has pink/orange streaks, or shows fuzzy mold, it’s safest to discard it and start fresh.
How often should I feed my starter?
Feed your starter once every 24 hours at room temperature. If it’s refrigerated, feed it once a week. Adjust frequency based on how active it is and your baking schedule.
Conclusion & Final Tips
Making your own sourdough starter from scratch is the key to unlocking a world of homemade bread. While it may take a few tries to get the timing, consistency, and flour choice just right, patience and attention to detail pay off with a lively, bubbly starter.
Final Tips for Success:
- To get a feel for what works best, track your routine. Note things like feeding times, flour types, and your room’s temperature to see how they impact your starter.
- Be Patient: Starters take time to mature. Don’t rush the process consistent care yields the best flavor and rise.
- Experiment with Flour: Start with whole wheat or rye for strong activity, then explore blends for different tastes and textures.
- Keep a Backup: Drying a small portion of your starter ensures you can always revive it without starting from zero.
- Enjoy the Journey: Making a sourdough starter from scratch is both science and art. Celebrate the small successes along the way.
By following these tips and the step-by-step guide in this article, your sourdough starter from scratch will soon be a reliable companion for baking flavorful, airy bread at home.