A Sweet Slice of Nostalgia
Some of my fondest childhood memories are filled with the warm, chocolatey aroma that would drift through my Nonna’s kitchen every Sunday afternoon. She didn’t need fancy ingredients — just good chocolate, a sturdy baking pan, and a lot of love.
Today, I’m sharing with you a modern take on her old-fashioned Chocolate Layer Cake — a dessert that’s rich, moist, and perfect for family gatherings, birthday celebrations, or simply treating yourself on a chilly evening.
Baking this cake feels like wrapping yourself in a soft, sweet hug.
Let’s make it together!

Ingredients
For the Chocolate Cake:
1 ¾ cups (220g) all-purpose flour
¾ cup (75g) unsweetened cocoa powder
2 cups (400g) granulated sugar
1 ½ teaspoons baking powder
1 ½ teaspoons baking soda
1 teaspoon salt
2 large eggs
1 cup (240ml) whole milk
½ cup (120ml) vegetable oil
2 teaspoons pure vanilla extract
1 cup (240ml) hot coffee (or hot water)
For the Chocolate Frosting:
1 cup (230g) unsalted butter, softened
3 ½ cups (450g) powdered sugar, sifted
½ cup (45g) cocoa powder
5 tablespoons (75ml) heavy cream (plus more if needed)
2 teaspoons pure vanilla extract
Pinch of salt
Instructions
Step 1: Prepare Your Equipment
Preheat your oven to 350°F (175°C).
Grease a 9×9-inch square pan and line it with parchment paper.
Gather all your ingredients — trust me, baking is much smoother when you’re prepped!
Step 2: Make the Chocolate Cake Batter
- In a large mixing bowl, sift together the flour, cocoa powder, sugar, baking powder, baking soda, and salt.
- In another bowl, whisk together the eggs, milk, vegetable oil, and vanilla extract.
- Slowly pour the wet ingredients into the dry ingredients, stirring gently.
- Gradually add the hot coffee (or hot water), mixing until just combined.
(Tip: The batter will be thin — that’s the secret to its moisture!)
Step 3: Bake the Cake
Pour the batter into the prepared pan.
Bake for 30–35 minutes, or until a toothpick inserted in the center comes out clean.
Let the cake cool in the pan for 10 minutes, then turn it out onto a wire rack to cool completely.
Step 4: Prepare the Chocolate Frosting
- Beat the softened butter on medium speed until creamy and fluffy.
- Add the sifted powdered sugar and cocoa powder, beating slowly at first, then on medium speed.
- Pour in the vanilla, a pinch of salt, and heavy cream, whipping until smooth and spreadable.
- Add more cream as needed if the frosting is too thick.
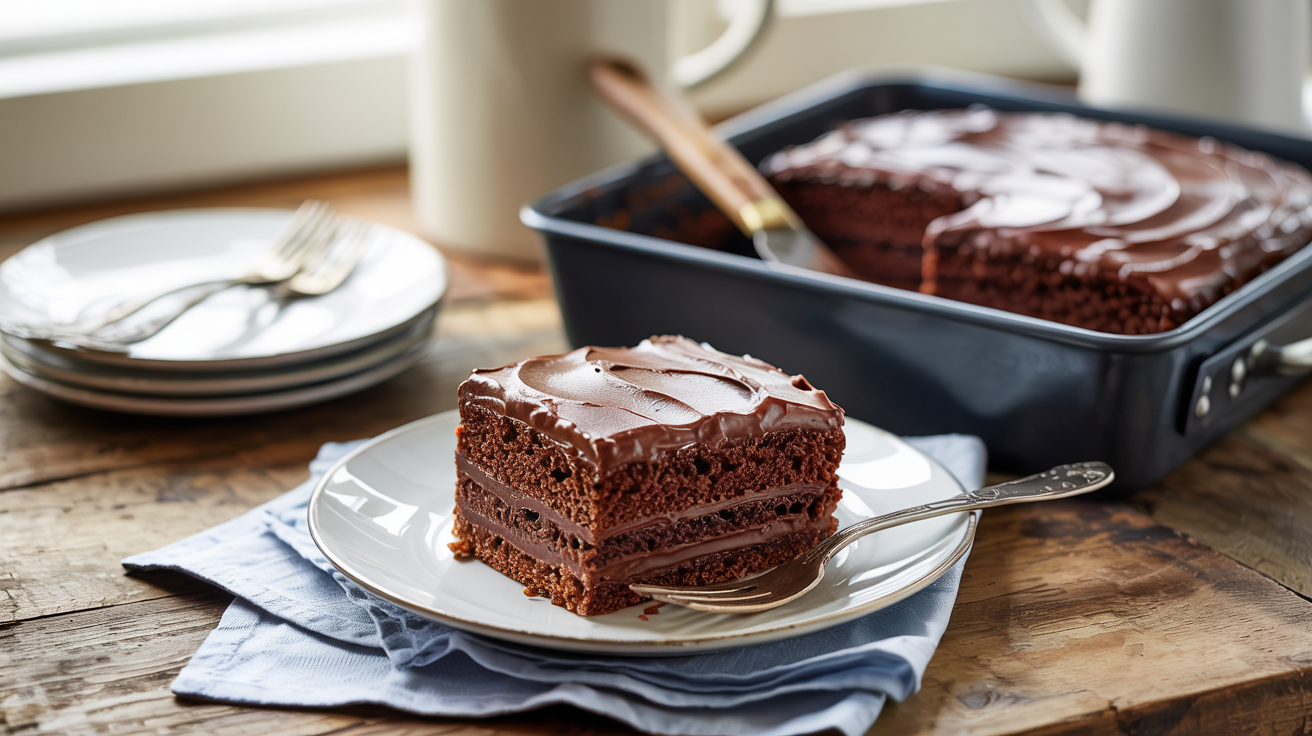
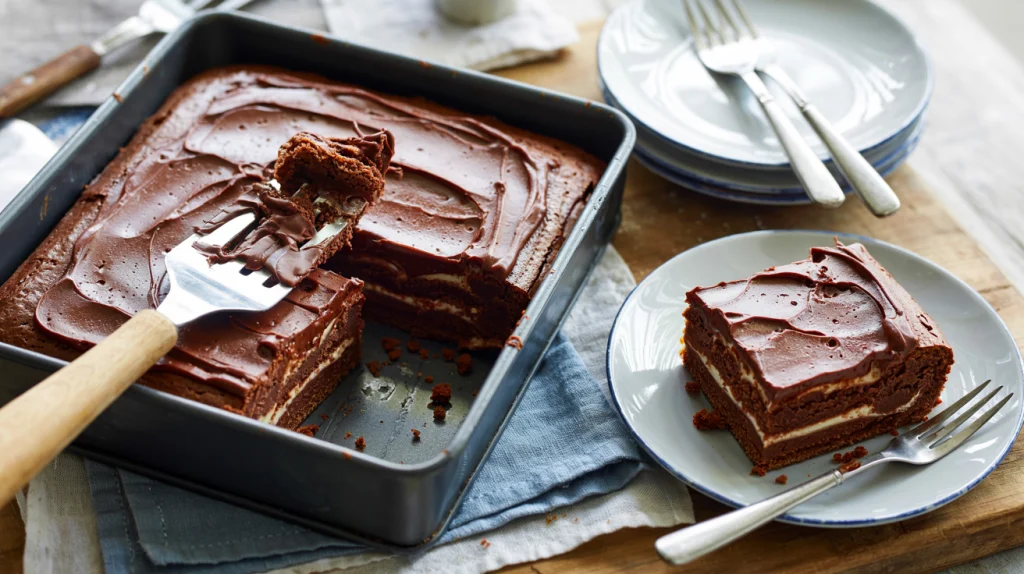
Step 5: Assemble and Frost
Once the cake is cool, slice it carefully in half horizontally to create two layers.
Spread a generous amount of frosting between the layers, then frost the top and sides.
Swirl the frosting with a spatula for a beautiful, rustic finish — just like Nonna used to!
Tips for the Perfect Chocolate Layer Cake
Use high-quality cocoa powder: It truly makes a difference in flavor. I love Valrhona Cocoa Powder for a deep, rich taste.
Don’t skip the coffee: Even if you’re not a coffee drinker, it enhances the chocolate flavor without making the cake taste like coffee.
Level your cake layers: Use a serrated knife to even them out if needed.
Chill before slicing: For the cleanest cuts, refrigerate the frosted cake for 20 minutes before slicing.
Storing and Freezing
This cake keeps beautifully:
At room temperature: Up to 2 days, covered.
In the refrigerator: Up to 5 days, tightly wrapped.
Freezing: Freeze the unfrosted cake layers wrapped in plastic for up to 2 months.
Thaw overnight in the fridge before frosting.
Delicious Variations
Chocolate Ganache Drizzle: Melt dark chocolate with cream and pour over the frosted cake.
Berry Bliss: Add a layer of raspberry jam between the cakes for a fruity twist.
Nutty Delight: Fold chopped hazelnuts or almonds into the batter before baking.